The backsplash is finished. Grouting went off without a hitch and then the entire backsplash was sealed with an enhancer/sealer. It gives the tile a wetter look (but not obnoxiously wet) and seals out anything that might splash up against it. Wife is happy so that makes the job a success.
One problem I had was that some of my tile cuts weren't perfect around the electric outlets so the plastic box extenders we purchased didn't work - they just pushed into the wall behind the tile. We found these little fixers in the electric aisle at Lowes. These are spacers that can be placed on the outlet mounting screw and push up against the nailed in electric box. We had to stack about five of these together but they work like a charm.
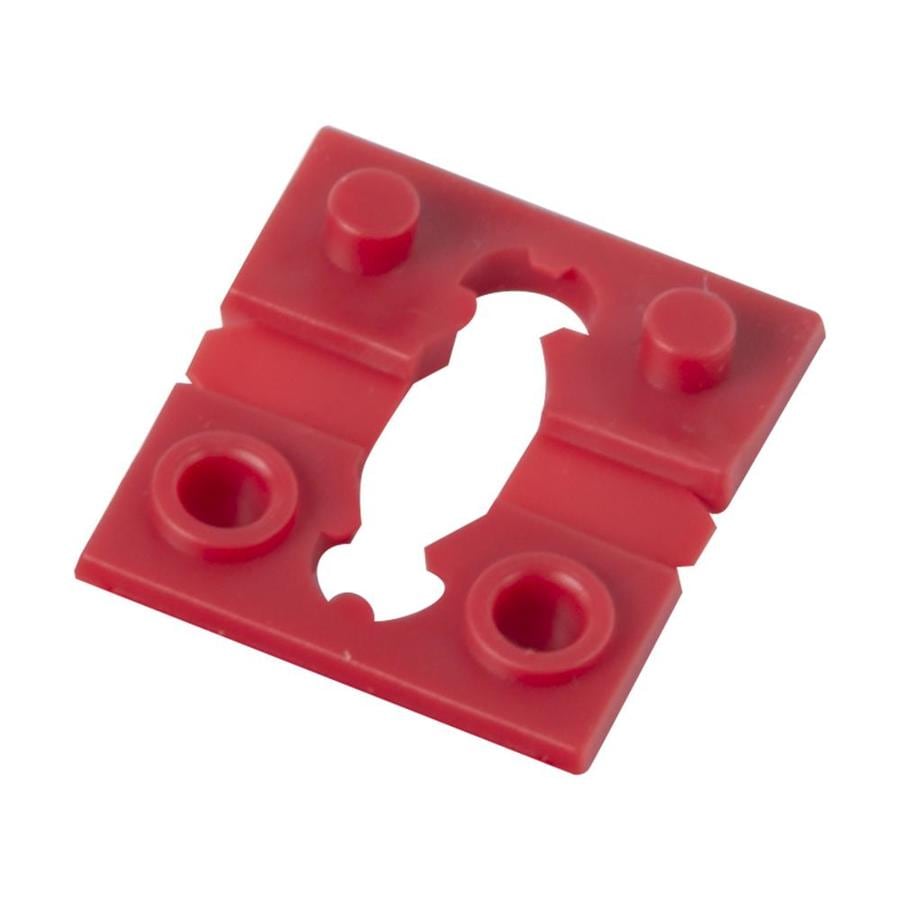 |
| Gardner-Bender Plastic Wall Plate Spacers |
*** ORIGINAL POST***
One of the items on which we didn't want to spend money with Ryan Homes was the kitchen backsplash. It's not that the cost was much different but it was the lack of selection in tiles.
We went through a lot of samples but finally decided on a tumbled stone mosaic type tile. Thanks to the Tile Shop for the great selection and for putting up with our sample returns and multiple questions.
We're still in the process but here's what happened yesterday:
 |
| Before - planning desk |
 |
| After - planning desk |
 |
| Before - at the range |
 |
| After - at the range |
Next steps are to seal the tile, grout, then seal the tile and grout again. I'll update this post with the final pics in a few weeks.
On another note, when doing your final walkthrough check behind the stove for dirt and debris. We wonder why our house is so dusty and then we find things like this:
